
Everything you need to know about: Cutting Skills
The start of the school is here and it’s time to refresh on some of those important functional skills that are needed throughout the school day – such as cutting!
The skills involved in cutting work to improve performance in other functional activities as well. For example, cutting works on fine motor skills which strengthens the small muscles of the hands and is needed for legible handwriting. Cutting also works on eye-hand coordination and how well the eyes and hands can work together, important for tasks such as shoe-tying. Cutting improves bilateral coordination, how well both hands are working together to achieve a task, which is essential for getting dressed and/or eating a meal.
Whether your child is learning to cut paper for the first time or just needs a refresher after the long summer break, here is all you need to know about scissor skills with your child.
As a school based Occupational Therapist, I want to share the most efficient way to cut paper and some tips and tricks to make the task achievable. To make sure your child is properly and efficiently cutting paper – check off each of the steps below:
Affiliated links were used in this post. See full disclosure here.
1. Appropriate Scissors
Before we get into the position of the hands while cutting, be sure your child is using scissors appropriate for their hand size. For left handed children use left handed scissors!
Click here for a quick link to these scissors below, appropriate for children ages 4+ years.

2. Proper Posture
If your child is sitting at a desk with their feet dangling, be sure to place a box, stool or even books to serve as a foot rest for improved stability. The desk should not be too high that it places your child’s shoulders in a flexed position. Keep the elbows close to the body and the wrists in neutral position

3. Scissor Orientation
Make sure your child is holding the scissors in the correct orientation. Have your child place the thumb in the smaller loop of the scissors while placing the index, middle and sometimes ring finger in the larger loop.

4. Holding the Paper
While holding the paper, the non cutting hand should also be THUMBS UP – meaning the thumb should be the only finger seen on top of the paper.


5. Thumbs Up Rule!
Now time to cut! For a helpful visual cue, place stickers or draw in smiley faces on the thumbs so your child remembers the thumbs up position. You can also place stickers or googly eyes on the smaller loop of the scissors to provide a visual reminder that the thumb side goes up.


6. Cutting Direction
It helps to hold the paper upright as opposed to laying it flat on the table. Have your child start cutting from the bottom with the scissors perpendicular to the paper. Always have them cut away from the body.

- For curved lines, a right-handed child should cut in an anti-clockwise direction and a left-handed child should cut in a clockwise direction. The non cutting hand should be the hand turning the page. Check out this great visual below to help your right handed and left handed children cut while appropriately turning the page in the direction best suited for their hand.
Other things to keep in mind:
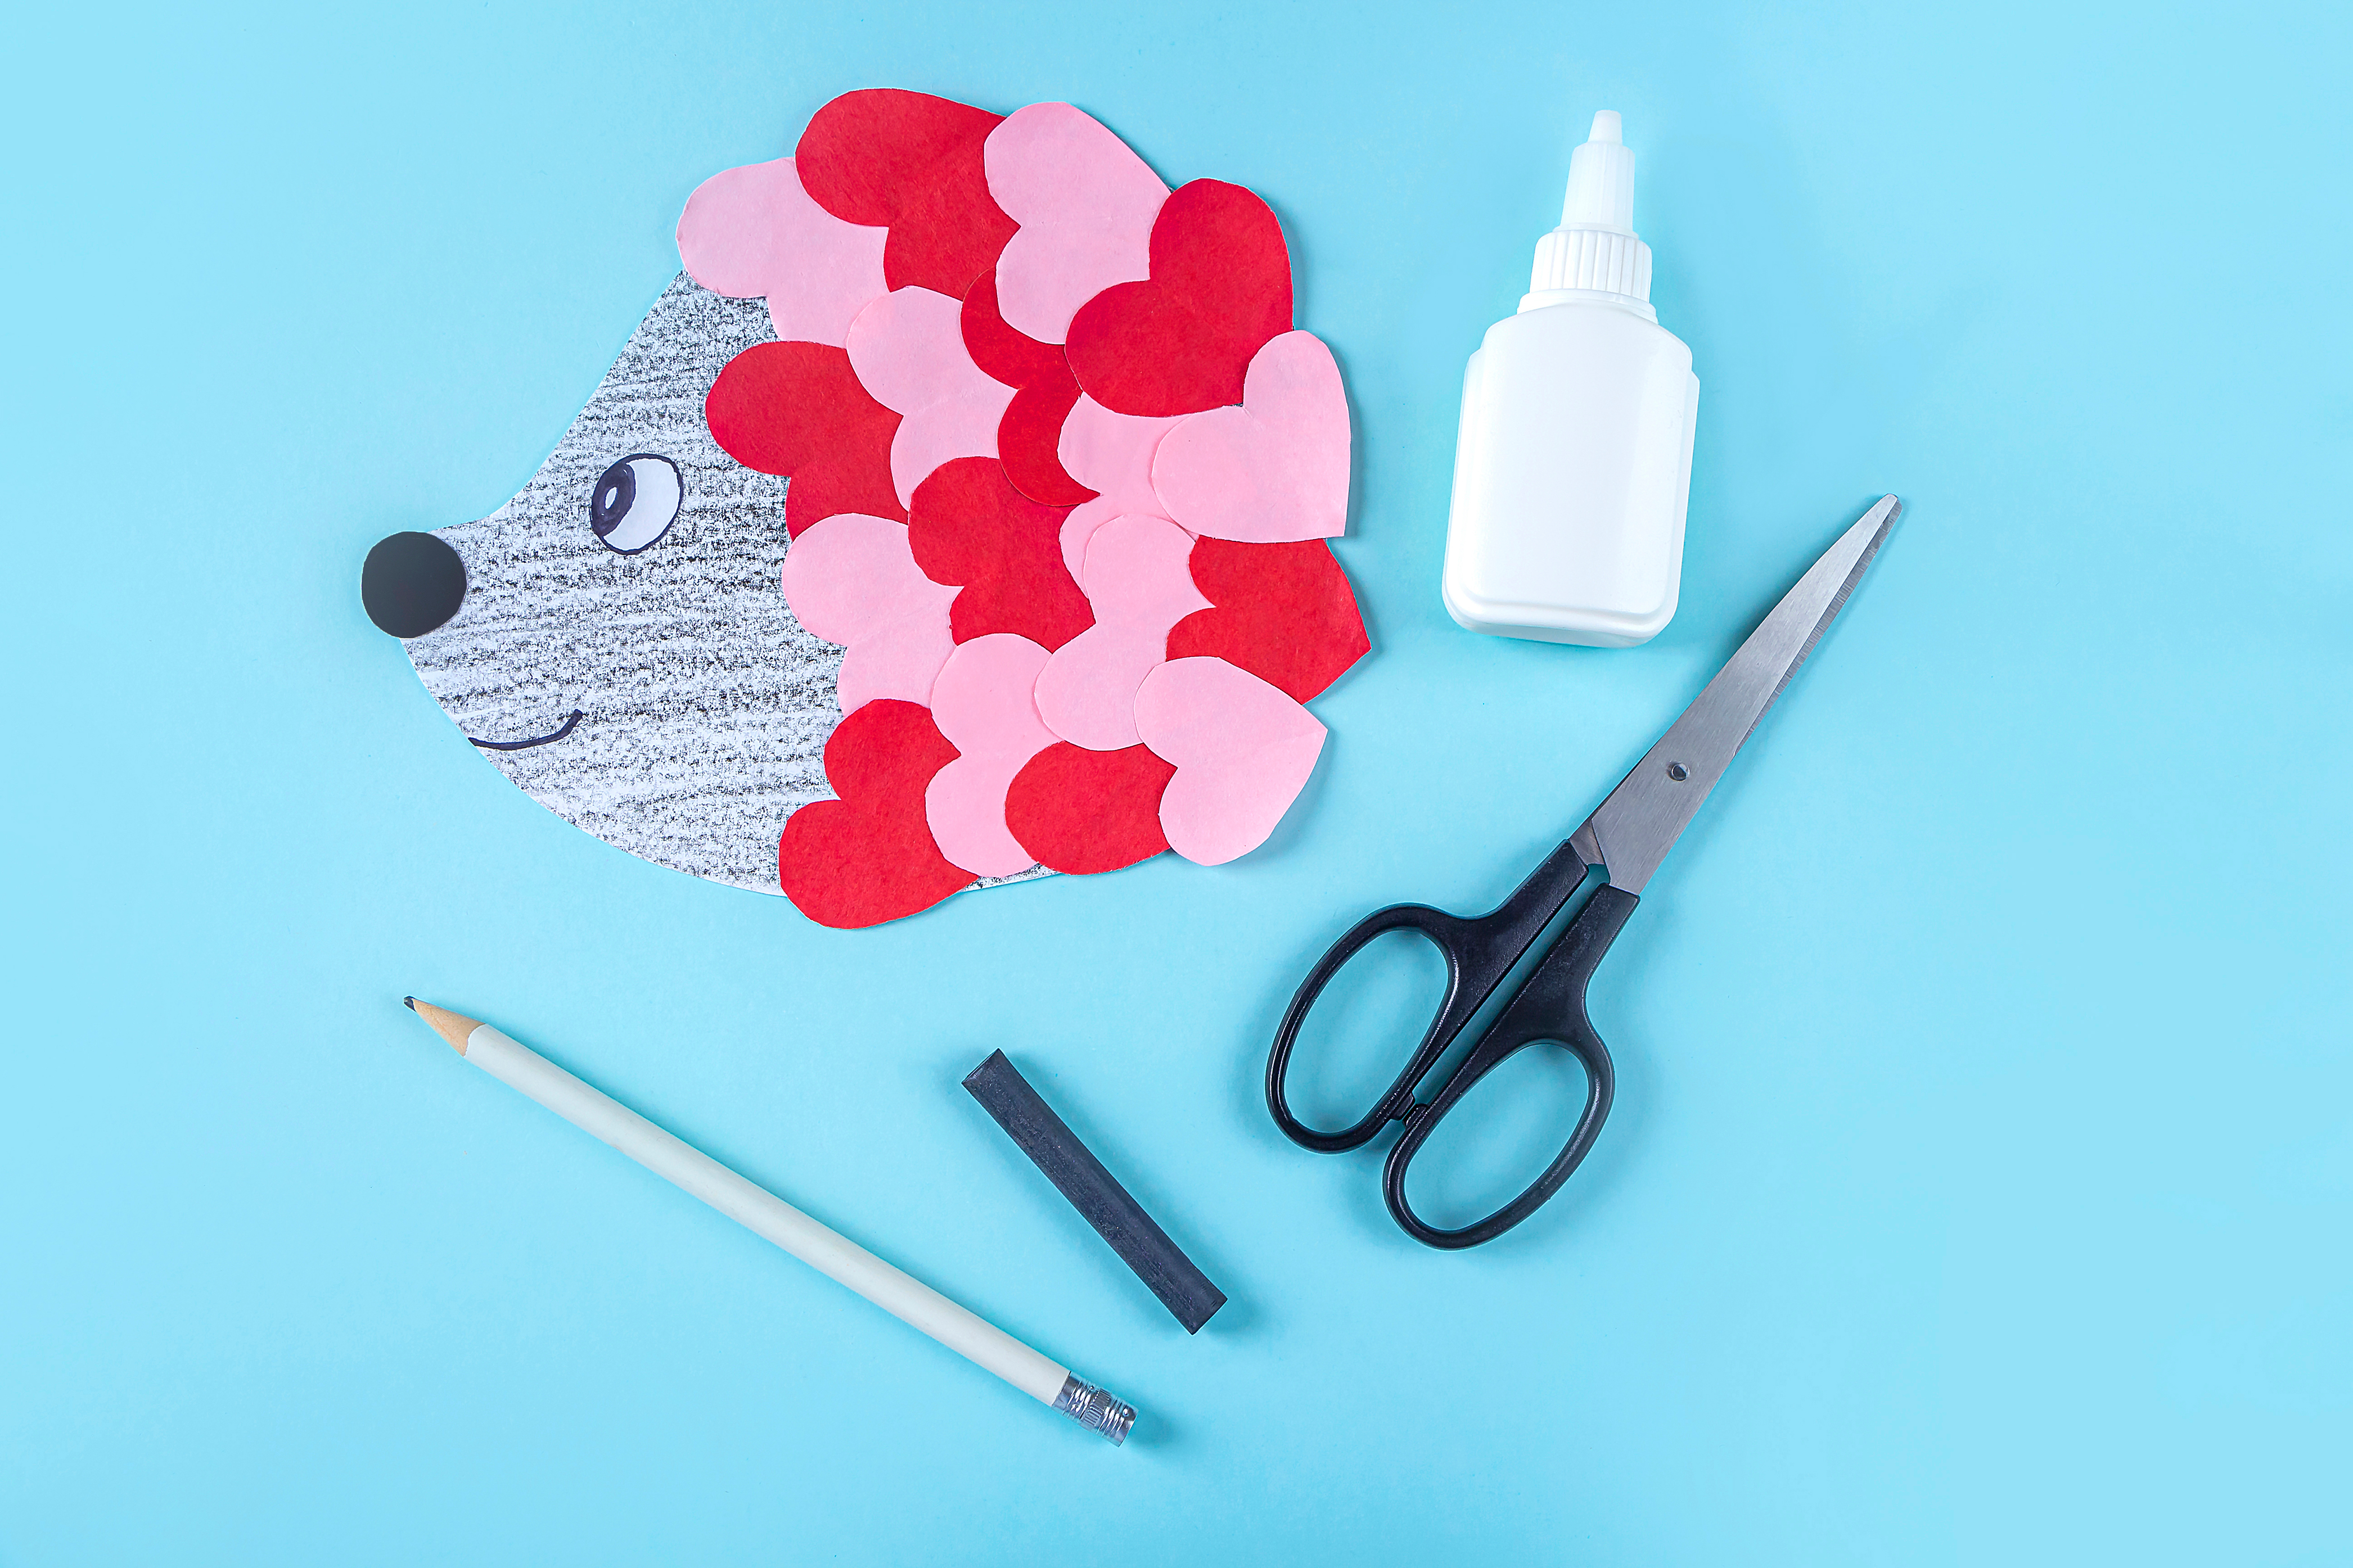
- If cutting thin paper is difficult for your child, try practicing first by cutting resistive mediums such as playdoh, straws, and card stock. Check out this fun activity from funlearningforkids.com

- Bold or highlight the cutting line for a visual cue.

- If the paper is too large, cut off any excess part so your child has better control of the paper.
For more helpful tips and tricks and/or questions related to teaching cutting skills, email us at madeha.ayub@seedsforspecialneeds.com or chat with us in the comment box below.